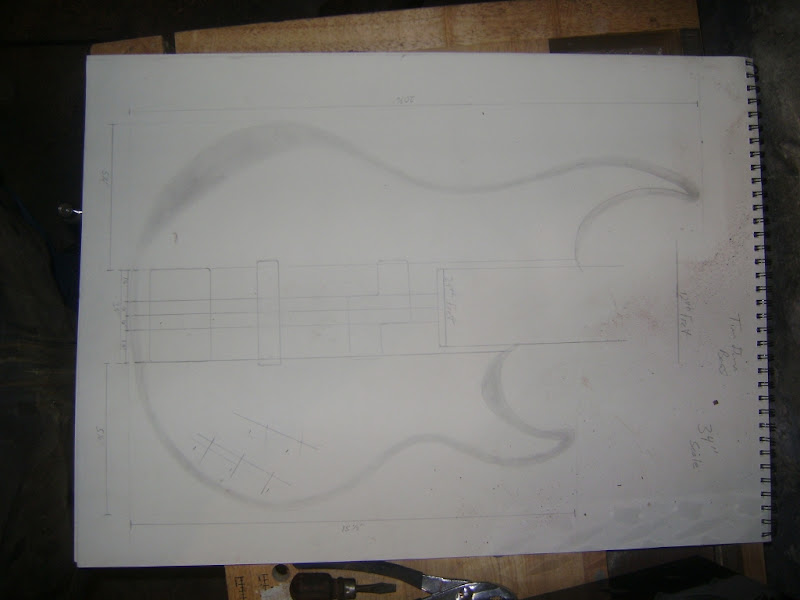
The first thing to do is get a scale draft of the finished piece.
 66
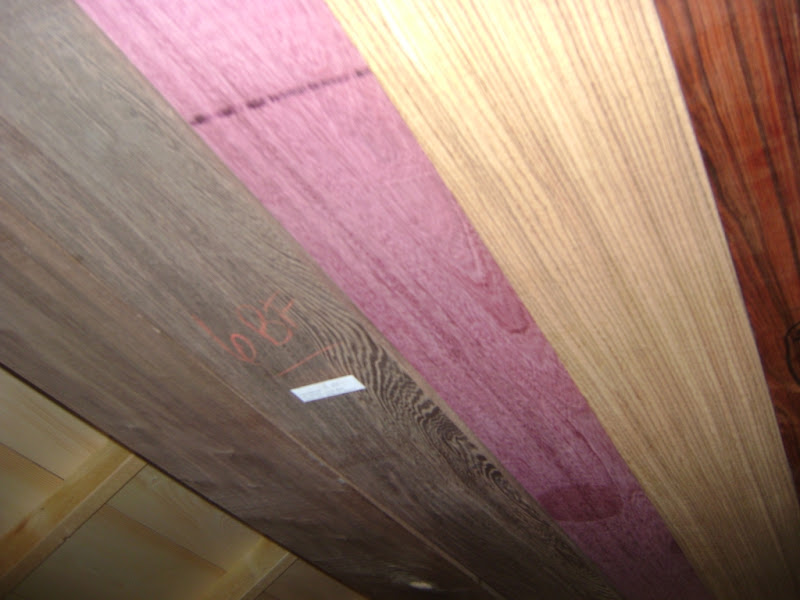
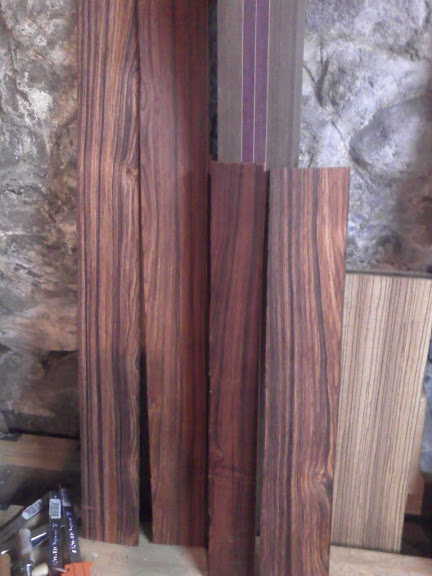
66The next step is wood selection
Then I rip the neck-through section and joint everything.
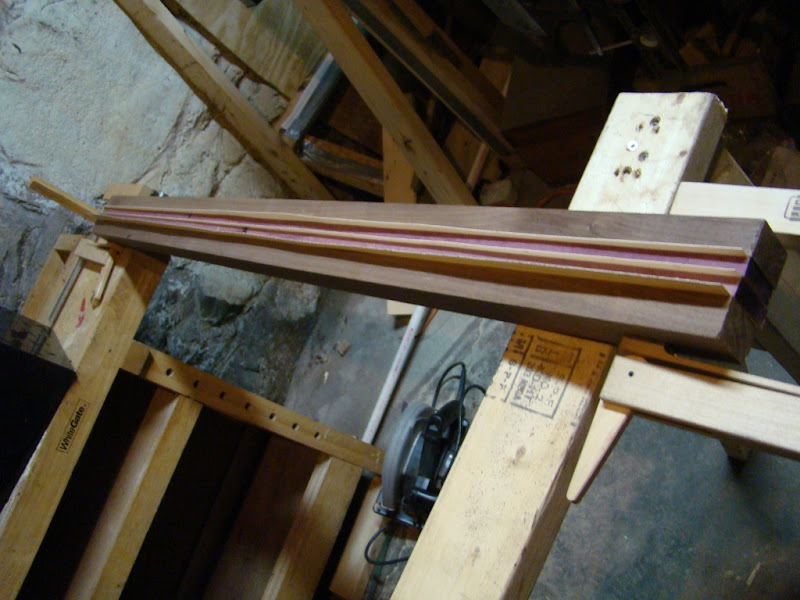
I glue that section together
Then I make a bunch of this
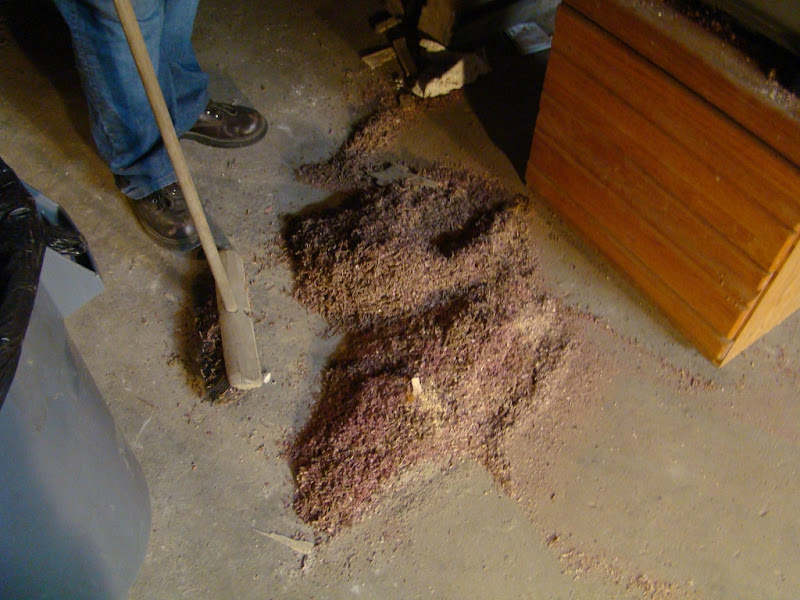
Until it looks like this

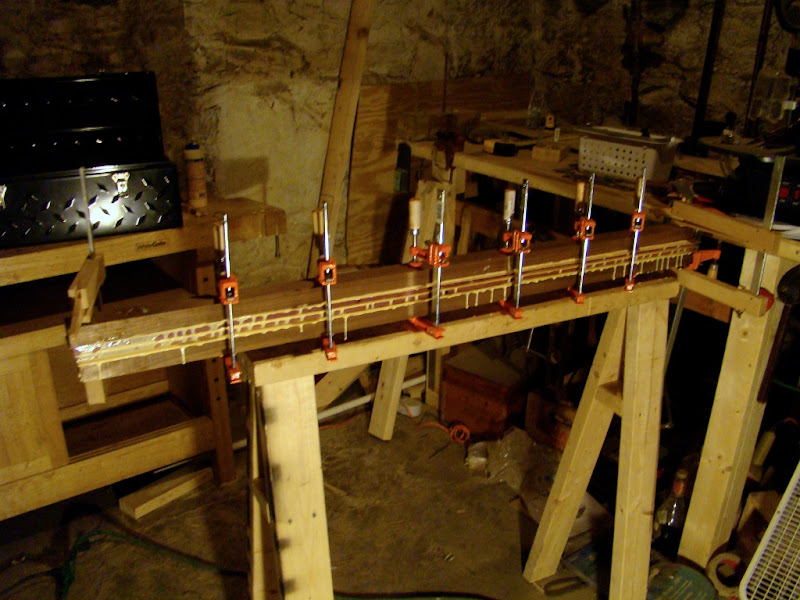
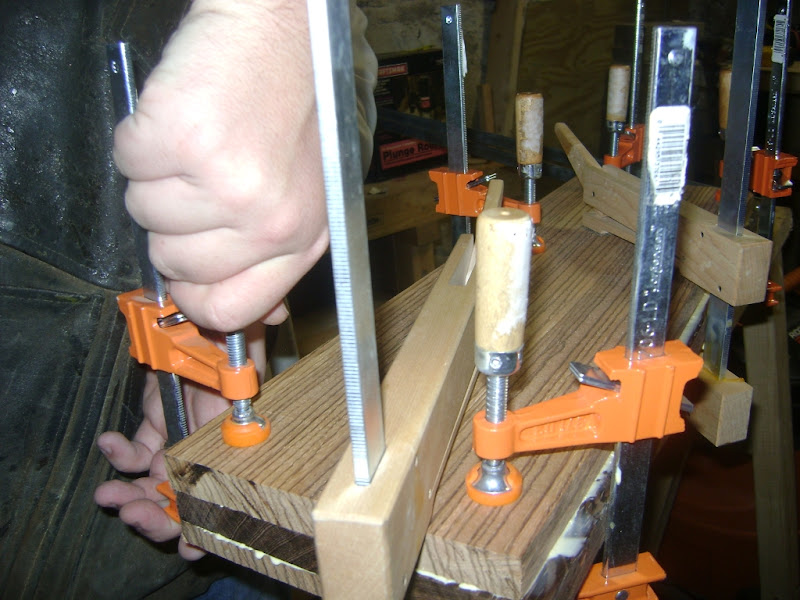
Next I plane, joint and glue up the wings. How do you like that fancy glue spreader? ;)

Clamp it all up
Clean the edges up to save time on the jointer
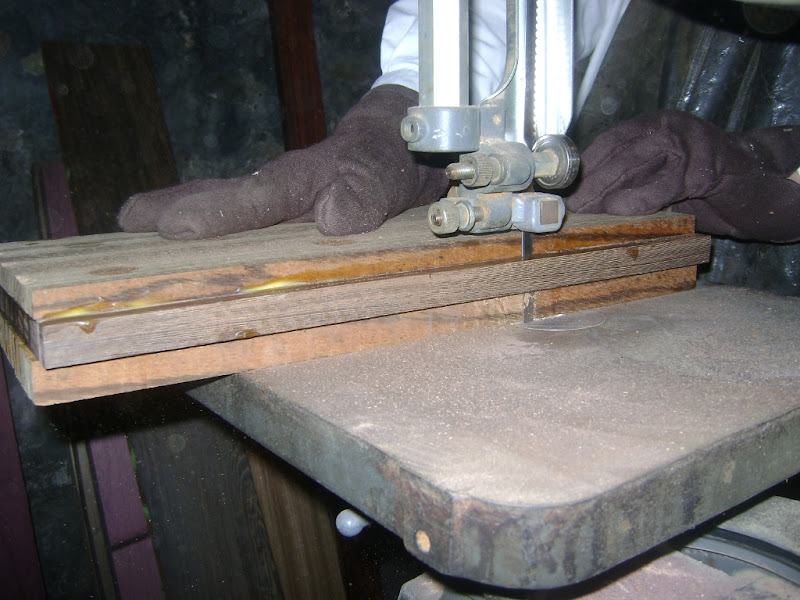
The inside edges ahve been jointed and each wing has gone through the planer so that they are the right thickness
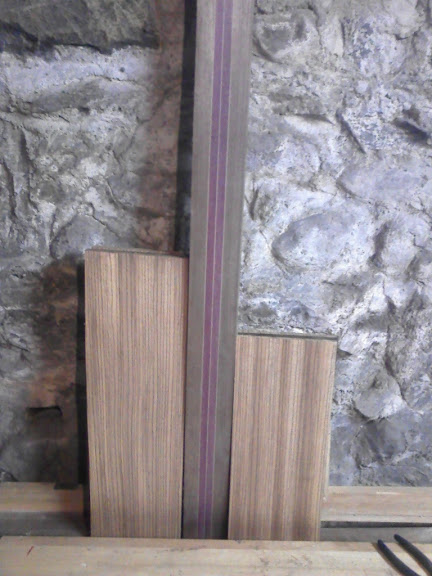
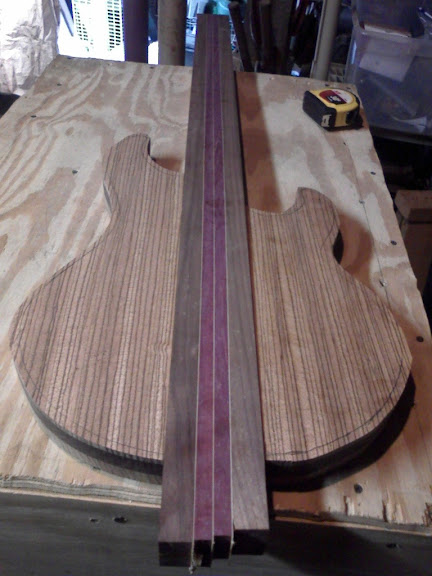
Then I ripped apart some fingerboard candidates to see which one fit best.
Next I do a rough cut of the wings
At this point, I am missing some pictures. I have no idea where they are. I'm afraid I may have lost them during a computer death we suffered a while back. The missing pictures are slotting the fingerboards, slotting for and installing the truss rod, gluing the fingerboard to the neck, cutting the scarf join for the headstock angle and gluing that on, gluing on the wings, and shaping the neck. There are probably a few other steps I didn't list, but those are the big ones.
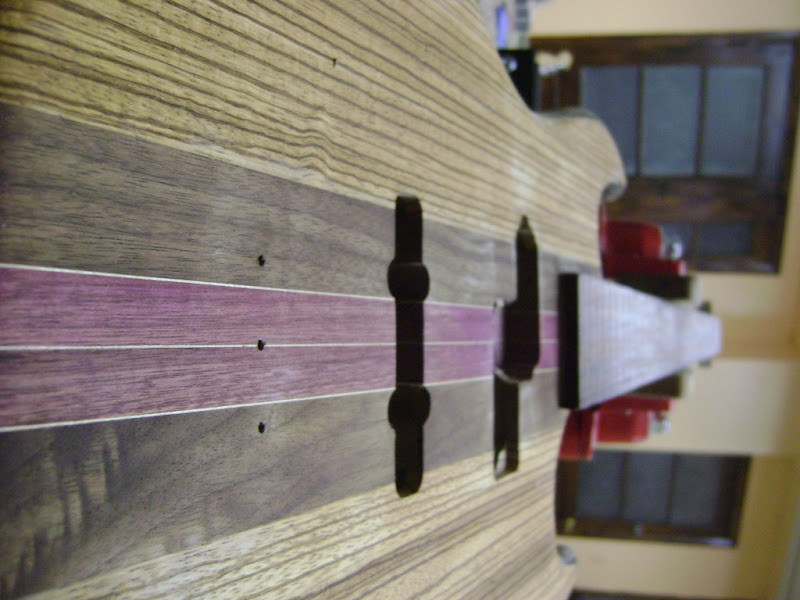
Here is the shaped neck where it meets the headstock

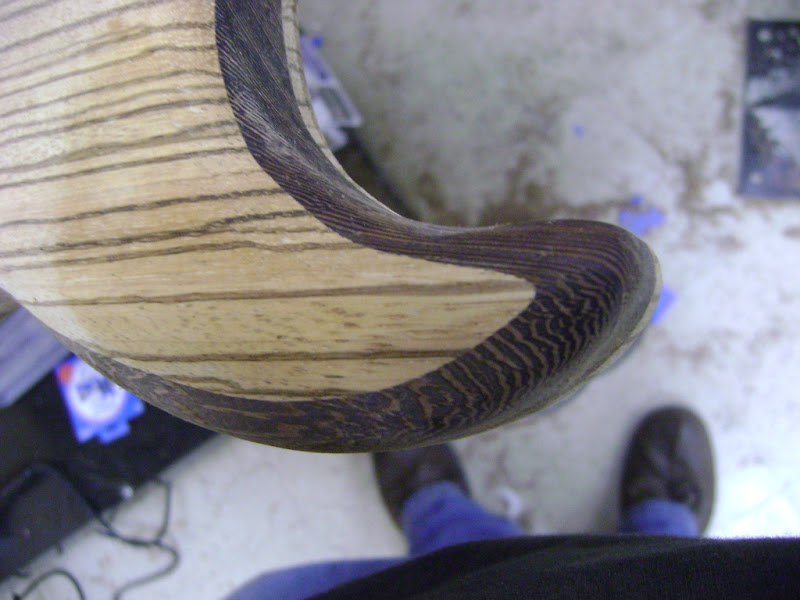
Blending the neck curve into the body section and wings.
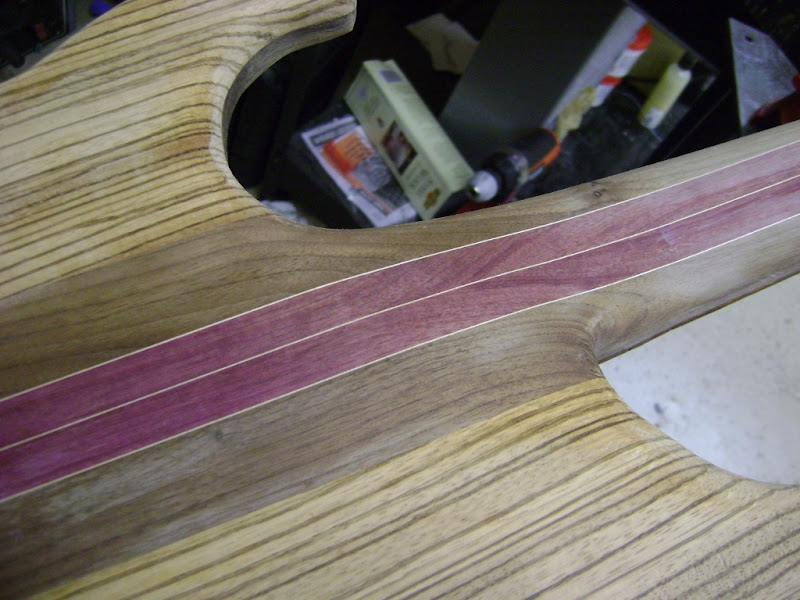
The customer wanted the horns to come to points, but after talking about instrument balance and strap button placement, we settled on the top wood coming to a point over a round horn.
Route for the pickups and electronics cavity

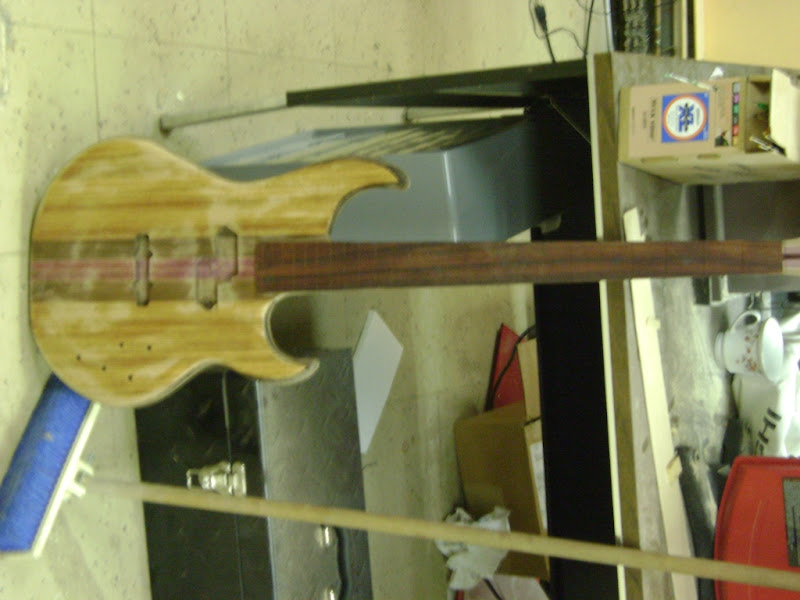
Money shot up the front
A shot of the bass with the first coats of oil on it. That wood is really soaking it up!


No comments:
Post a Comment